A well-prepared file is the simplest way to make sure your DTF print comes out as expected. Most problems with quality, dimensions and transparency come from the file rather than the printing itself - so it's worth taking a moment to check it before sending.
This guide walks through every key setting for artwork destined for DTF printing: from file format, through resolution and colours, to preparing the production sheet. At the end you'll find a ready-made checklist to run through before every order.
01. Before you start - check what you're printing on
Before you open the artwork, settle a few basics. They determine how the design should be prepared.
Which transfer you're choosing - STANDARD or BLOCKER, depending on the material.
Which material will be decorated - cotton, polyester, a blend, sportswear or workwear fabric.
The target size of the artwork - the exact print dimensions in centimetres.
The available working width - we print on film with a maximum width of 58 cm. Length is not limited, because we print from a roll - the sheet can be any length.
Why it matters
The only constraint is width (max. 58 cm) — it decides how wide a single design can be and how many designs fit side by side. You don't need to worry about length: a production sheet can be as long as you like.
02. Which file format to choose?
The file format affects whether quality and transparency are preserved. The formats most commonly used in DTF printing are:
PNG
Artwork with transparency
Supports a transparent background. A good choice for logos and irregularly shaped designs.
PDF
Production-ready design
Holds dimensions and layout. Works well for prepared, finished sheets.
TIFF
High quality
A lossless format for high-quality artwork with fine detail.
When to use which format?
A single design with a transparent background - usually PNG.
A finished production sheet at target dimensions - PDF.
Artwork with fine detail where quality is critical - TIFF.
03. Transparent background - why it matters
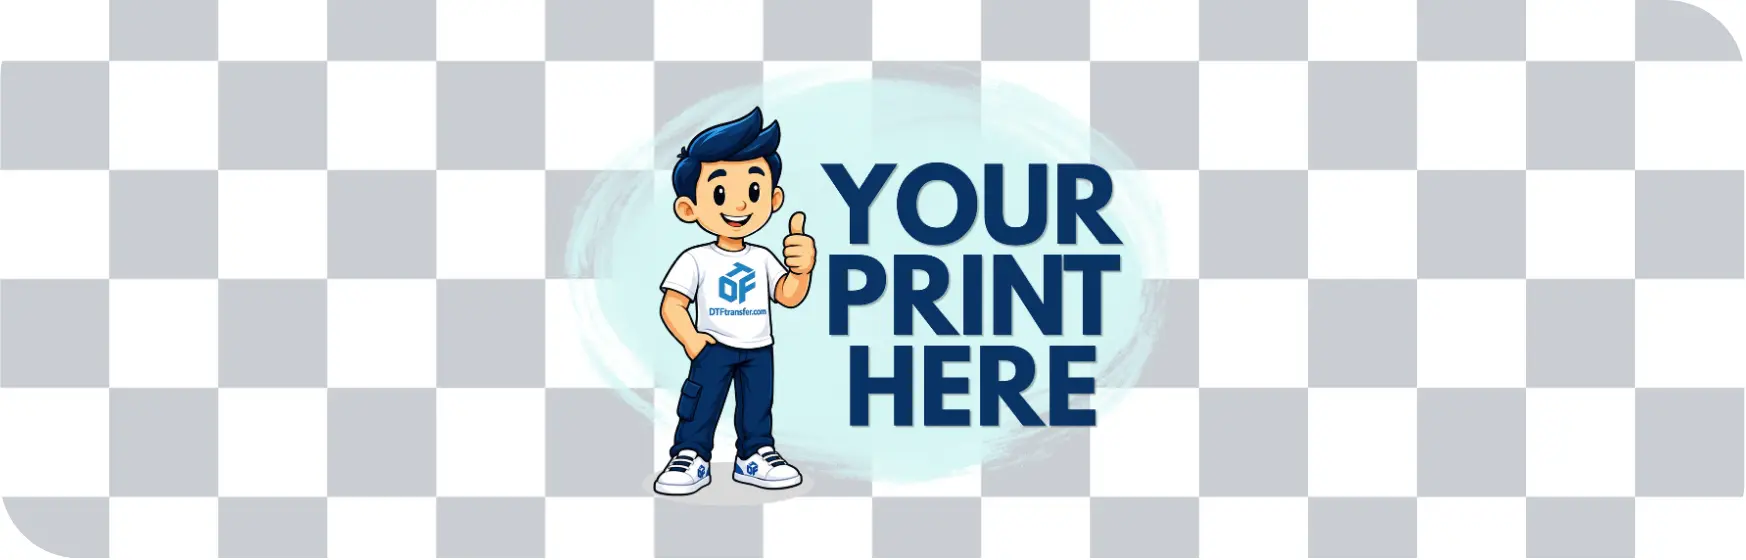
In DTF printing, whatever is visible in the artwork gets printed. If there's a white background behind the design instead of transparency, it will be treated as part of the design and printed along with the motif.
Incorrect
A white rectangle instead of transparency
The background prints around the design
A visible box on the finished garment

Correct
Transparent background (checkerboard in the editor)
Only the design itself is printed
A clean shape with no unwanted background
04. Artwork resolution
Resolution determines how sharp the print is. A file that's too small loses quality when scaled up to the target size -the print shows blurry edges and visible pixels.
What happens when you enlarge a small file?
Enlarging doesn't add detail that isn't in the file. The software "stretches" the existing pixels, which makes the artwork look soft. That's why it's better to prepare the design at the right size and quality from the start.
Screen artwork vs production artwork
Artwork made for screen (for example, from the web) usually has a lower resolution, enough only for display. Production artwork needs quality suitable for printing at the target size.
05. Design size and proportions
It's best to prepare the design at its target size straight away. That way you can be sure the print will be the right size and the quality will hold up.
How to check the size before sending?
Before sending, check the artwork's dimensions in centimetres and compare them with the planned print size. It's worth viewing the design at 1:1 scale to judge the real size of the details.
The same file at 10 × 10 cm and at 30 × 30 cm places completely different demands on quality -the larger the print, the more detail the source file must contain.
06. The production sheet
A production sheet, also called a gang sheet, is one large file with many designs laid out side by side. This lets you use the film width efficiently and print several designs in a single run.
How to lay out designs
- Arrange designs evenly, with small gaps between them.
- Keep the whole layout within a width of up to 58 cm — that's the only size constraint.
- The sheet can be any length, since we print from a roll — stack as many designs one below another as you need.
- Keep each design at its target size and with a transparent background.
Remember
Sheet width: max. 58 cm. Length: unlimited (roll printing).
What to avoid
- Overlapping designs.
- Placing elements too close to the edge.
- Mixing different sizes without any order.
You can prepare the gang sheet yourself, or send individual designs to be laid out.